
Learn to handstand with these simple tips
It will take time to learn how to handstand, but here’s some helpful tips to get you started from your own home.
You got home workouts during the first nationwide lockdown with a dose of adrenaline and excitement but, for many, the thought of kitchen training again just isn’t appealing. It’s safe to say, most people are looking for ways to shake things up.
One great way of doing that is trying to learn a new skill. One of the best? A handstand. “People might not realise the heavy psychological impact learning to handstand can have,” says Gabby Parker, ex-circus performer and co-creator of How To Handstand. “Because it’s such a hard skill and does take a lot of time to practice there’s a serious feeling of achievement when you actually do. It’s really good for self-confidence, focus, dedication, discipline, satisfaction and fulfilment.”
You may also like
Why everyone should learn to do a handstand (and how to do it)
As well as that, a handstand is great for physical training – particularly right now. Not only do they strengthen your shoulders, core and back using just your body weight, “you don’t need space or equipment to practice,” reminds Gabby.
Think you’ll never be able to do it? It does take time, but you’ll get there. “With the proper instructor, you’re looking at anywhere from three months to two years before you’re able to hold a handstand away from the wall,” Gabby says. So while you might not walk out of this lockdown on your hands, you can definitely start making progress towards your goal.
Handstand progressions
Gabby believes in the seven pillars of handstands. These are:
Specific strength
“Strength is relative. If you’re great at squats, it doesn’t necessarily mean you’re going to be good at handstands – it’s a whole different set of muscles. We need to build the specific areas that will keep you safe and stop you from falling on your face,” Gabby says.
Flexibility
You need to be flexible enough to kick up into a handstand and maintain the posture through the shoulders.
Alignment
“Learning to make the correct shape will give you the most optimal chance of being able to balance,” says Gabby. “It’s physics!”
Balance
A tricky combination of the first three pillars, balancing requires perfect alignment as well as the strength to hold it all in place.
Consistency
As with everything, practice makes perfect.
Endurance
Learning to stay in the handstand for as long as possible will make adaptations easier.
Shape
“This is a bit more advanced and is about moving through different shapes in your handstand once you’ve nailed the traditional form,” Gabby says.
“Simply kicking up against a wall over again is not a good way to get towards your goal. You need to give yourself the best tools to succeed,” explains Gabby.
You may also like
Just 10 minutes of exercise a day could help your mental health during lockdown
For the first four weeks, you probably want to be focusing on the first three pillars of handstands. That’s strength, flexibility and alignment. You can do these by focusing on some certain drills for each step. How To Handstand offer a free programme you can follow, or you can sign up to handstand coaching.
Handstand drills
For strength:
Hollow body hold
Lying on your back, lift the shoulder blades and legs off the floor with your arms by your sides. Squeeze your abdominal muscles so that your lower spine is still imprinted onto the floor – there shouldn’t be an arch through your back. The lower your feet are to the floor, the harder it is. You can also lift your arms up overhead for an extra challenge. If that’s too difficult, bend the knees so that your legs are in a table top position.
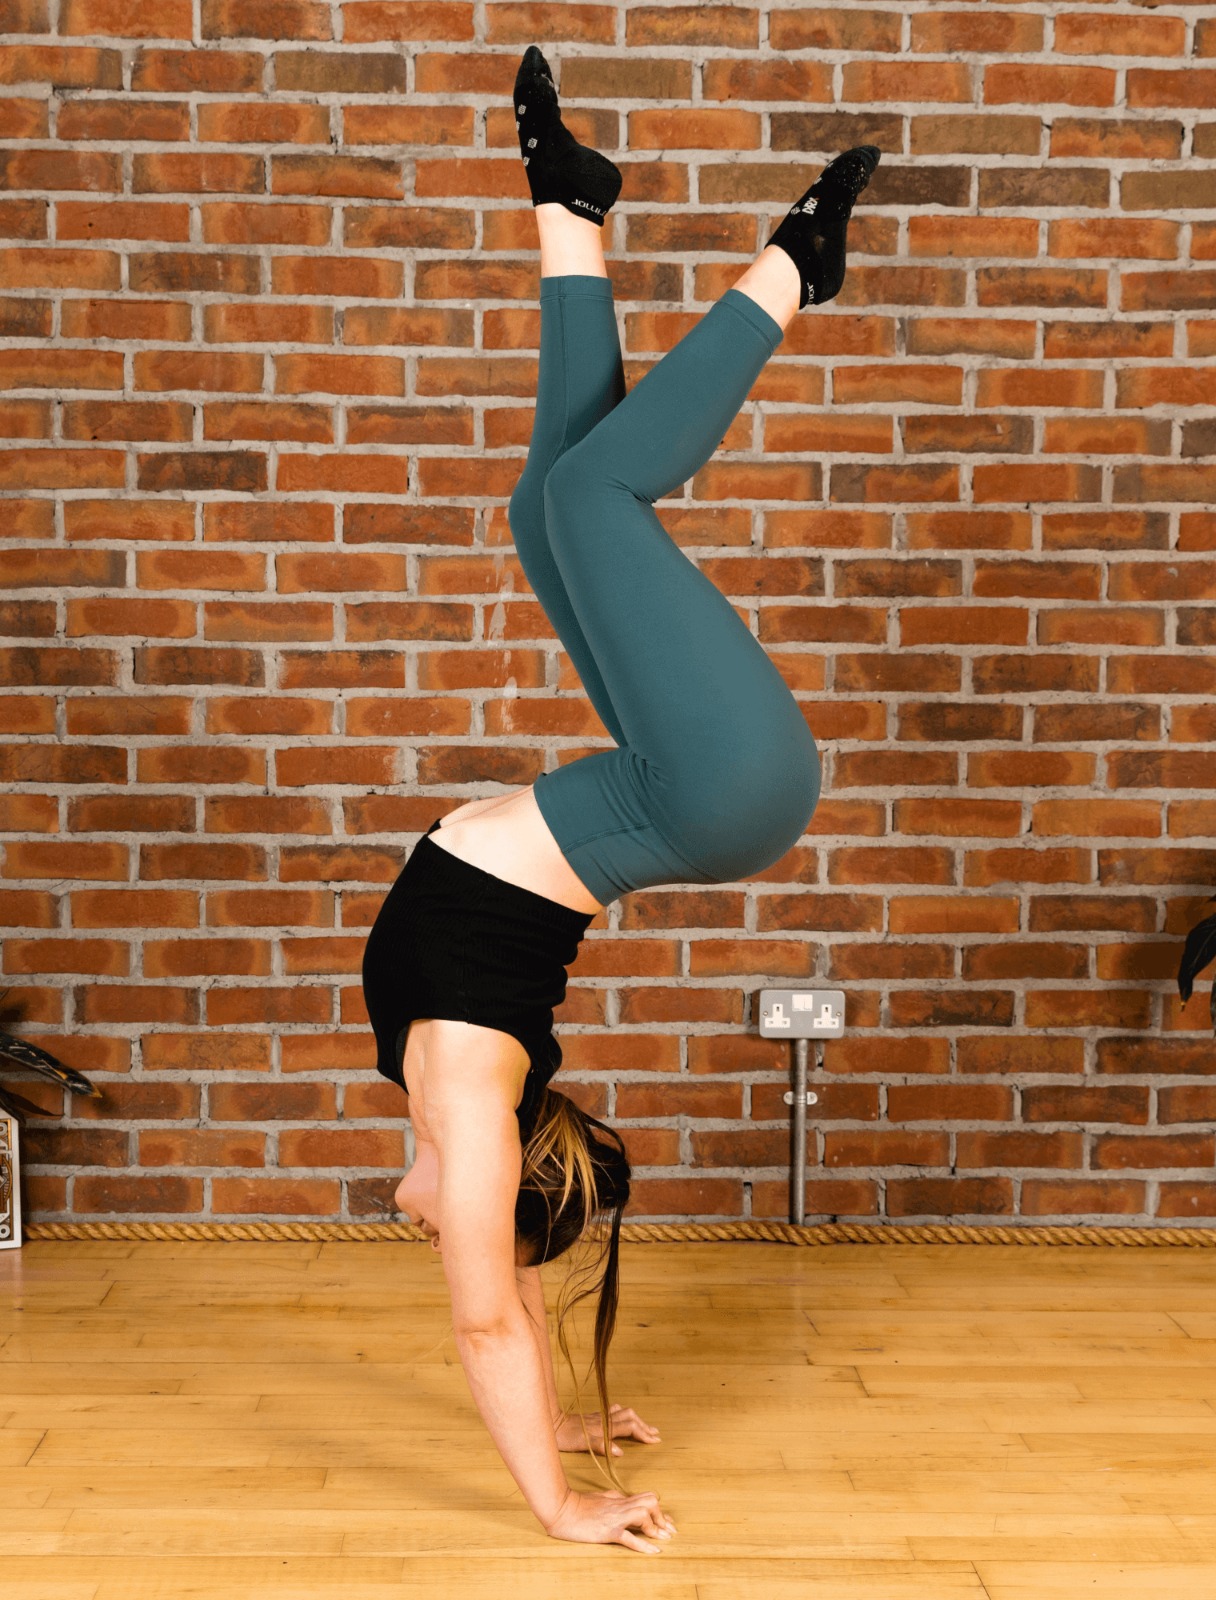
Pike press
Sit on the floor with your back to a wall, legs out in front of you. Take note of how far your heels are away from the wall – you need to place your hands here as we send the legs behind us up the wall. Your feet should come to hip level, with your knees tucked. From there, push the weight forward over your hands so that your legs are at a right angle to your body. Push back to the starting position. Repeat that up to 10 times to really work the shoulders.
For flexibility:
Savvy shoulder stretch
This is a great stretch to work through the back of the shoulders. Find a flat surface that is roughly waist height. Place your hands on it and walk backwards, bending the hips to 90º. Relax into the position to feel the stretch at the back of your shoulders.
Alignment:
Floor alignment drill
Think of this as handstanding without the balance. Lying on your stomach, reach your hands above your head, arms shoulder-width apart. Flex the wrists as you push through your shoulders – do this with your hands resting on a wall if it’s easier for you to actually push into something. Your chin should be on the floor but your head should be up so you can look between your hands.
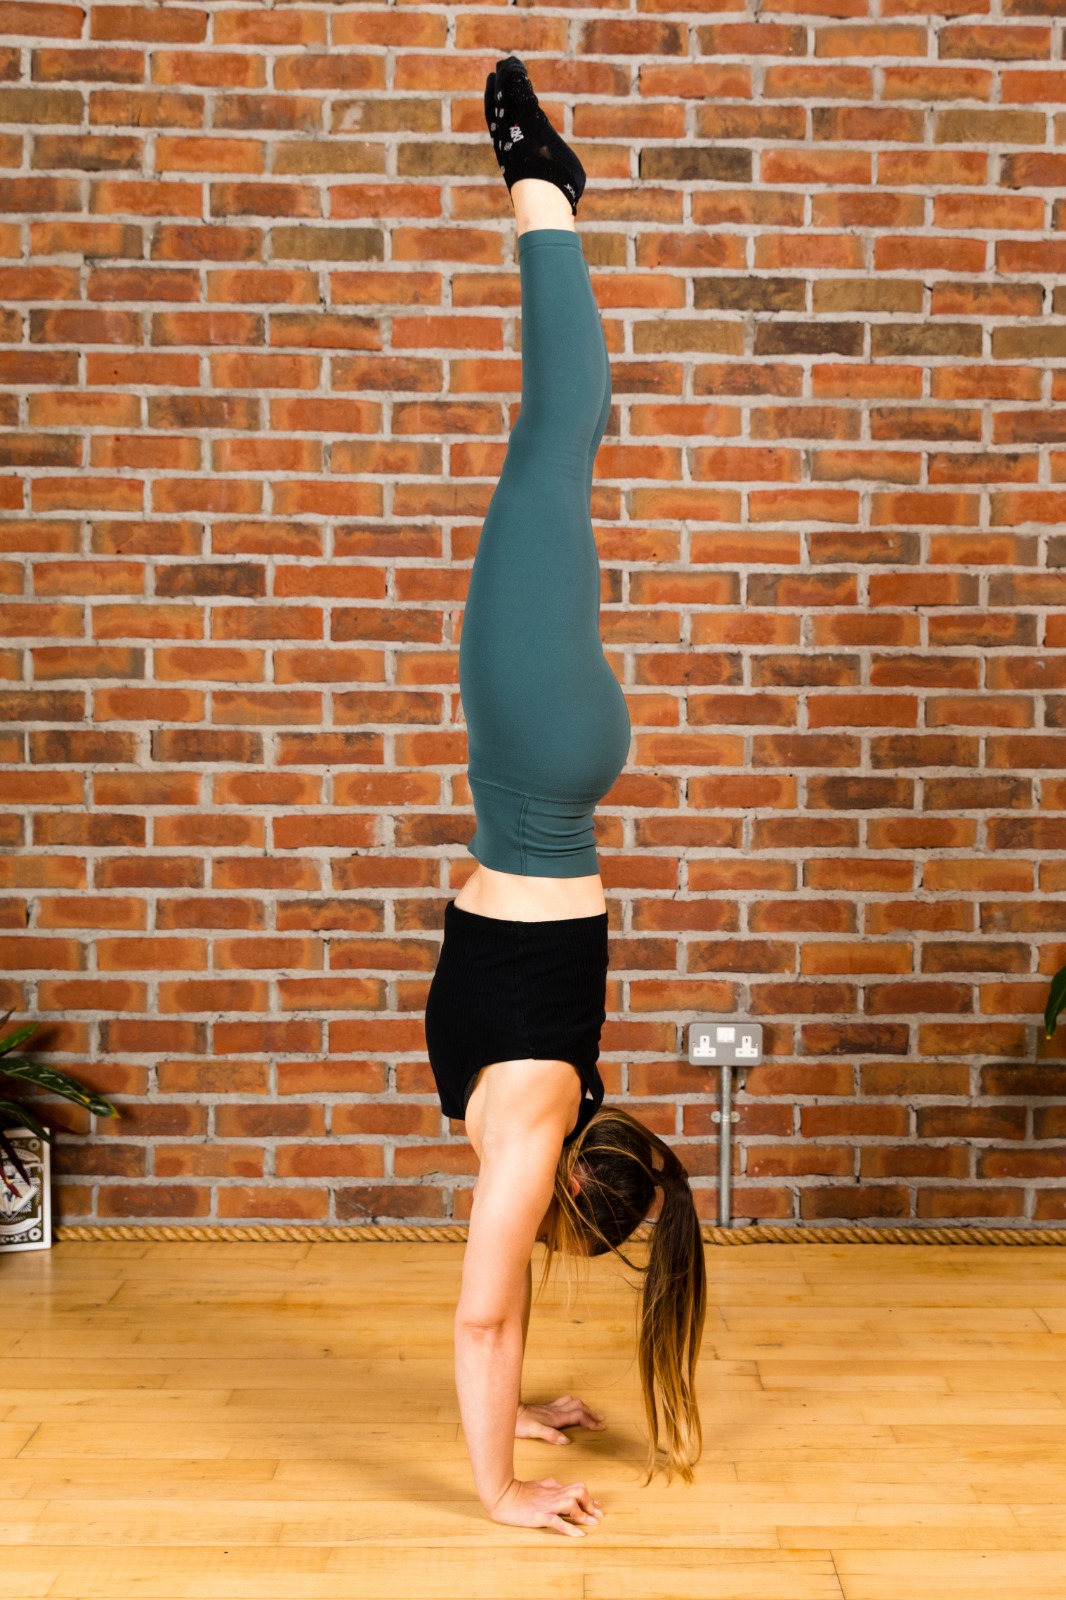
Golden alignment drill
This one requires going upside down, so it’s not for total beginners. But, when you feel confidently strong, it’s a great way to practice. Stand with your back against the wall and bring your hands to the floor, stepping your feet back up against the wall. This is the opposite direction to how you usually do a wall handstand, but it allows you to keep proper alignment, rather than arching through the spine. Walk as close to the wall as possible, making sure to keep proper form (pointed toes, ribs tucked in). We’d highly recommend checking out How To Handstand’s programme before trying this one out!
Follow @StrongWomenUK on Instagram for the latest workouts, delicious recipes and motivation from your favourite fitness experts.
Source: Read Full Article

